Upgrade your checkout integration
Last updated: Jul 1st, 1:53pm
If you have an Express Checkout integration, PayPal recommends upgrading to PayPal Checkout using the JavaScript SDK. The JavaScript SDK has the following benefits:
Visit the Eligibility Page to learn more about the countries, currencies, and card brands that PayPal Checkout supports.
Get Started
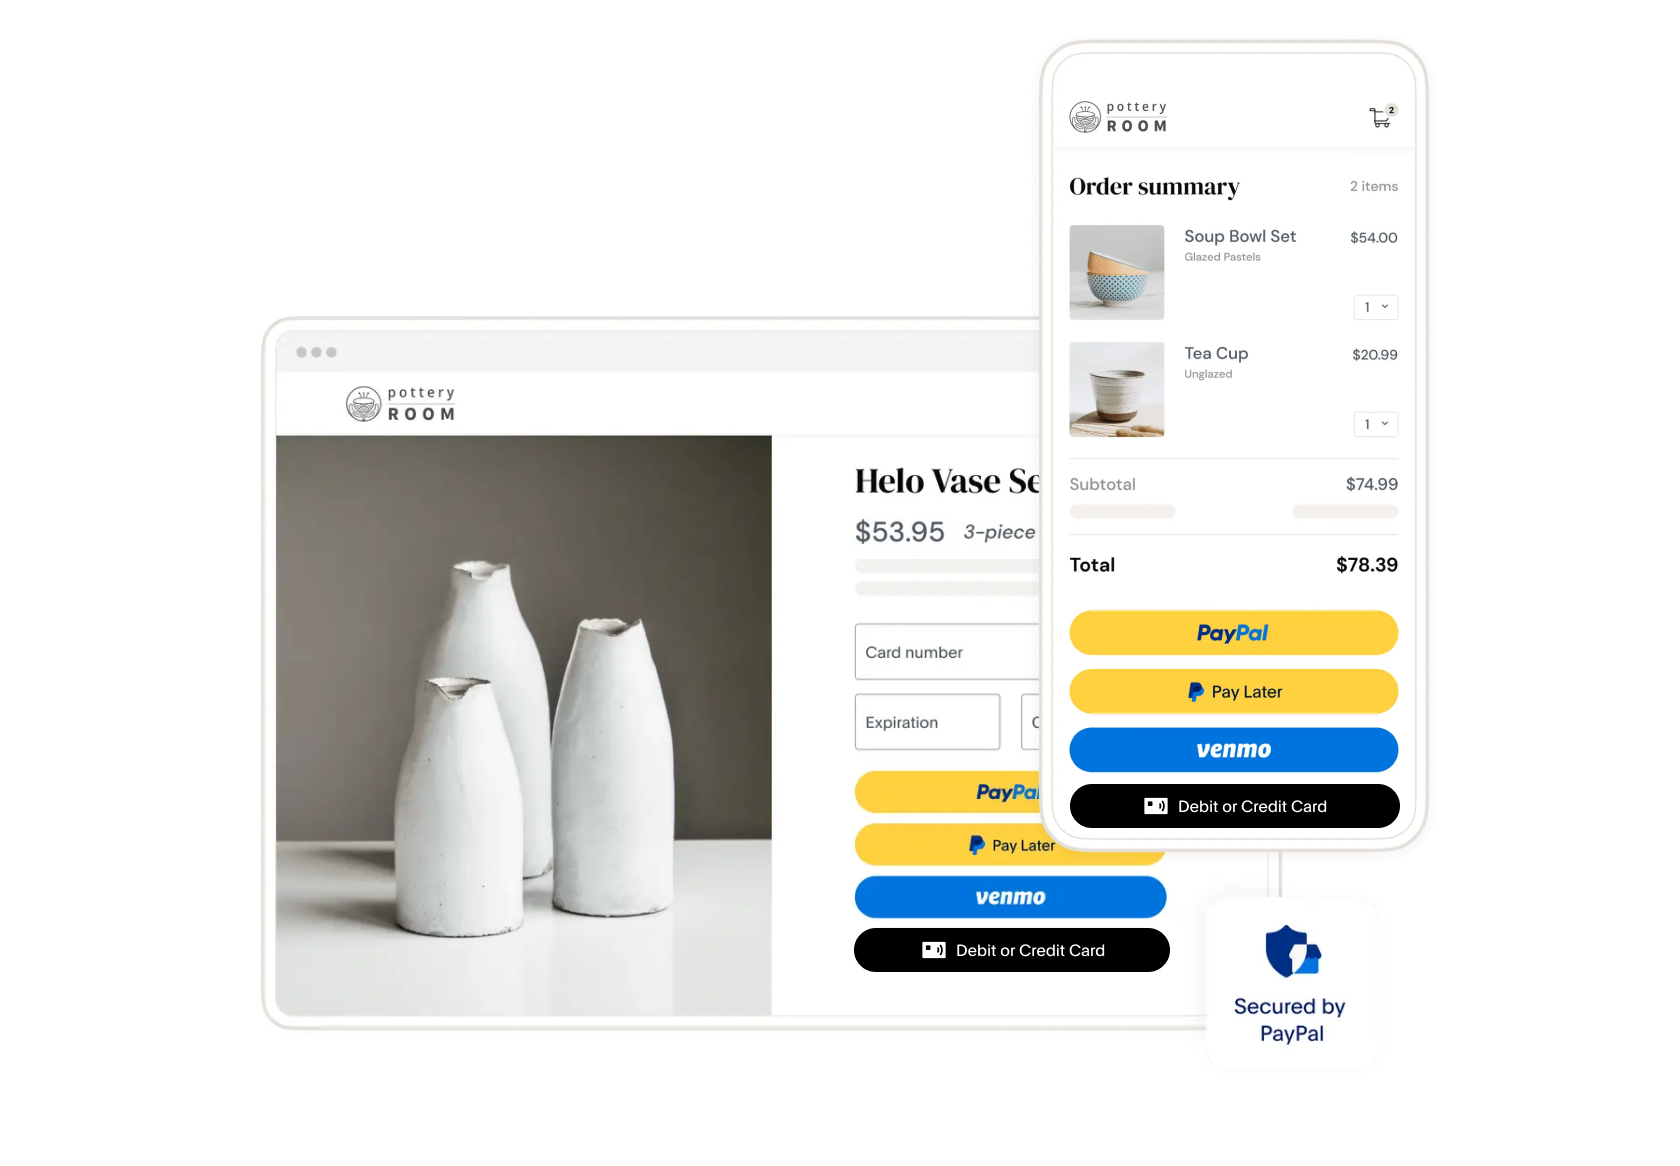
If your current integration is Express Checkout, you must upgrade to PayPal Checkout. You can use your site’s branding with PayPal Checkout, allowing customers to pay with PayPal, Pay Later options, Venmo, and alternative payment methods.
1. Review your current integration
1. Identify core API calls
Locate the endpoint URLs in your code that manage starting, reviewing, and completing paymetns. Check the API requests for the following METHOD parameter values:
SetExpressCheckout, GetExpressCheckoutDetails, DoExpressCheckoutPayment
2. Document parameters
Review the core API calls from your current integration and make a list of the parameters, such as PAYMENTREQUEST_0_AMT.
3. Parameter mapping tool
Map these parameters to the new API using our parameter mapping tool in our PayPal API Transformer.
2. Setup your sandbox
Sign in to your developer account
If you don't already have one, sign up for a PayPal developer account.
Get your sandbox credentials
Follow this onboarding document to get a client ID and secret, access token, and your sandbox account credentials.
- Client ID: Authenticates your account with PayPal and identifies an app in your sandbox.
- Client secret: Authorizes an app in your sandobx. Keep this secret safe and don't share it.
- Access token: Authenticates your app when calling PayPal REST APIs.
Set up your sandbox account
Follow this account configuration document to set up your sandbox account and test purchases before going live in your live account.
- Log in to the PayPal Developer Dashboard, toggle Sandbox, and go to Apps & Credentials.
- Select Create App.
- Input App Name, and under Type, select Merchant.
- Click Create App.
Update your front end
Set up your front end to use PayPal payment buttons in PayPal Checkout. Select your upgrade path: choose 'For NVP/SOAP API-only integration' if you currently have an API-only integration, or choose 'For NVP/SOAP API and JavaScript SDK v4' if you're currently using checkout.js.
For NVP/SOAP API-only integration
Integrate PayPal's latest JavaScript Web SDK
PayPal's JavaScript Web SDK supports how you want to accept payments on your website. Our SDK handles displaying the buttons for PayPal and other payment methods, so your customers can pay with whatever method they choose. See Getting started for more information.
1. Follow steps in the Integrate PayPal Web SDK guide to set up and customize your PayPal payment buttons with JavaScript Web SDK v6.
For NVP/SOAP API and JavaScript SDK v4
Upgrade your legacy JavaScript from v4 to v6
If you are using a previous version of PayPal's JavascriptSDK (checkout.js), upgrade your SDK to access the full range of features offered by PayPal Checkout.
Step 1: Update the SDK Script
First, you'll need to replace the old checkout.js script tag with the new v6 SDK script.
12345678910
12345678910
Note: For production, use the production URL: https://www.paypal.com/web-sdk/v6/core.js
Step 2: Generate a clientToken (server-side)
In v6, you no longer pass your client-id directly in the script tag. Instead, your server must generate a short-lived, browser-safe clientToken.
You will need to create a dedicated endpoint on your server that your frontend can call to fetch this token.
Here’s a conceptual example using Node.js with Express:
1. Create a server endpoint to handle the token request from your frontend.
12345678910
2. Create a helper function to generate a clientToken. This function will securely call the PayPal API.
12345678910
For more detailed information, please refer to the official v6 JS Web SDK authentication documentation or see our example repo here.
Step 3: Initialize the SDK and render buttons (client-side)
On your frontend, you’ll fetch the clientToken from your server and use it to initialize the PayPal SDK.
1. Add containers for your payment buttons
12345678910
12345678910
2. Fetch the clientToken, create an instance of the PayPal SDK, check for eligible payment methods and handle checkout flow on button click.
12345678910
By following these steps, you can successfully migrate your legacy integration to the new v6 JS Web SDK and take advantage of its modern features and improvements. For more detailed information, please refer to the official v6 JS Web SDK documentation.
Configure the checkout experience
If you have an Express Checkout integration, you must set up server-side processing. You'll need to generate a client token, upgrade your NVP/SOAP API integraiton to the Orders v2 API, and set up a listener to handle API responses.
Upgrade your NVP/SOAP API integration to REST APIs
Use the Orders v2 API to create, update, retrieve, authorize, and capture orders. Use the Payments v2 API for post-payment actions. The following table shows how a one-time payment request in NVP/SOAP API maps to a PayPal Checkout request in the Orders v2 REST API:
| NVP/SOAP API | Orders v2 REST API |
METHOD=SetExpressCheckout |
POST /v2/checkout/orders |
METHOD=GetExpressCheckoutDetails |
GET /v2/checkout/orders/{order_id} |
METHOD=DoExpressCheckoutPayment |
POST /v2/checkout/orders/{order_id}/capture |
To help you construct the request body to support the Orders v2 format, copy and paste your NVP/SOAP reqeuset body into our API Transformer tool.
Changing order details between request and capture
THe NVP/SOAP integration uses the DoExpressCheckoutAPI to process both order updates and capture order requests. When you need to change the order details, such as the address or amount, after your original SetExpressCheckout call, you can make a single DoExpressCheckout call to simultaneously change the order details and capture the payment.
To change the order details between request and capture using PayPal Checkout, you need to make 2 calls to the Orders v2 API: an Update order PATCH request to update the order, and a Capture payment for order request to finalize the checkout flow.
Example payloads
The following are examples of NVP/SOAP API request payloads and how they map to and PayPal Checkout request in the Orders v2 REST API:
12345678910
12345678910
12345678910
12345678910
12345678910
12345678910
Handle responses
Create a handleResponse function to set up a listener that returns an HTTP status code from the API response.
- Set up
handleResponsefunction to make aPOSTcall to the/api/ordersendpoint and return an HTTP status code response. - Declare an
errorMessageobject to show an error message whenhandleResponsereturns an error code.
For more information about Orders V2 error scenarios, see OrdersV2 Error Messages page.
This example shows a handleResponse() function:
12345678910
Upgrade IPNs to Webhooks
Replace IPN(Instant Payment Notification) to webhooks for asynchronous event processing.
- Create Endpoint: Build a secure HTTP POST endpoint (e.g.,
/webhook) to receive events. -
Register URL: In your PayPal Developer Dashboard, add your webhook URL and select desired events (e.g.,
PAYMENT.CAPTURE.COMPLETED). - Validate Signatures: Implement signature verification to confirm events come from PayPal.
-
Update Logic: Replace IPN processing with webhook event handling in your code (e.g., update order status on
PAYMENT.CAPTURE.COMPLETED). - Test Sandbox: Simulate events in the sandbox to ensure your endpoint handles notifications correctly.
- Go Live: Update your live PayPal settings with your production URL and monitor logs for real-time event processing.
Fine-tune your experience
See the Orders v2 API reference to configure the details of your integration.
Test the Integration
Before going live, test your integration in the sandbox environment. Learn more about card testing, simulating successful payments using test card numbers and generating card error scenarios using rejection triggers.
Note: Use the credit card generator to generate test credit cards for sandbox testing.
PayPal Payment
- Select the PayPal button on your checkout page.
- Log in using one of your personal sandbox accounts. This ensures the payments will be sent to the correct account. Make sure that you use the sandbox business account that corresponds to the REST app you are using
- Note the purchase amount in the PayPal checkout window.
- Approve the purchase with the Pay Now button. The PayPal window closes and redirects you to your page, indicating that the transaction was completed.
Confirm the money reached the business account:
- Log in to the PayPal sandbox using the sandbox business account that received the payment. Remember that the SDK source now uses a sandbox client ID from one of your REST apps, and not the default test ID.
- In Recent Activity, confirm that the sandbox business account received the money, subtracting any fees.
- Log out of the account.
Card payment
- Go to the checkout page for your integration
- Generate a test card using the credit card generator.
- Enter the card details in the hosted field, including the name on the card, billing address, and 2-character country code. Then, submit the order.
- Confirm that the order was processed.
- Log in to your merchant sandbox account and navigate to the activity page to ensure the payment amount shows up in the account.
Go Live
Follow this checklist to take your application live:
- Log into the PayPal Developer Dashboard with your PayPal business account.
- Obtain your live credentials.
- Include the new credentials in your integration and Update your PayPal endpoint.
See Move your app to production for more details